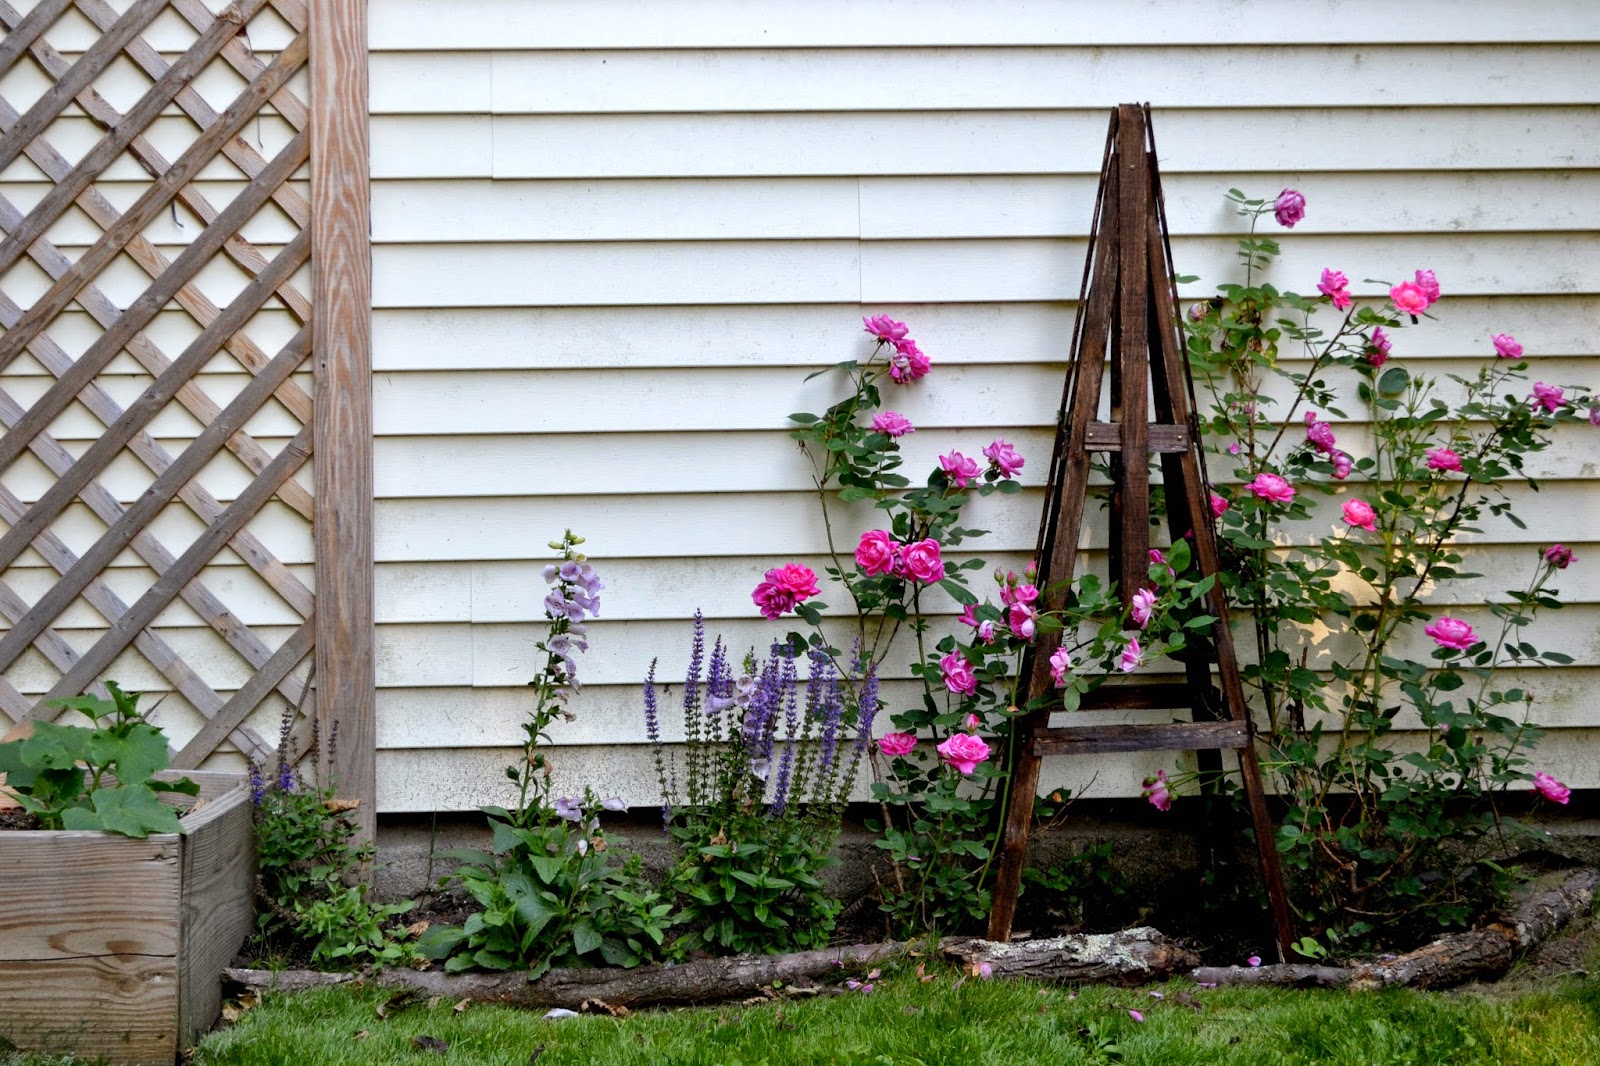
In an effort to "dress up" the side of our garage in the back yard, we've planted some climbing roses and other plants. I have my vegetable beds along the left side but the right side was lacking in height, visually. Plus, the roses needed something to climb and there is such a thing as lattice-overkill. Using some scrap wood (cheap pine firring strips) and some left-over stain, I made this quick rough garden obelisk. This is by no means a fine-craftsman job but it is a quick project and looks rather nice once its in place...because that's what counts when we're talking "quick crafts". Here's how it's done:
You will need:
-2" wide firring strips (usually purchased by the bundle, we will use less than a bundle)
-Small square or rectangular block of scrap wood
-Staple or screw gun
-Measuring tape
-Stain/polyurethane in the color of your choosing
Gather (4) of the firring strips and make sure they are equal lengths. Mine were all 4 feet, perfect.
Attach the very tips of all four strips the top of each side of the wood block ( I used nails here but the staple gun would work too). You want to be able to part the bottoms as you stand it up so that the four legs are spread out.
Measure out (4) pieces for the bottom horizontal rungs (mine were about 1') and screw or staple on. Next, measure (4) smaller rungs for the top row (mine were 6" here) and attach.
Lastly, attach four vertical, 2.5' pieces as a decorative touch. Bring the tops up about 2"above the wooden block to conceal it and to create somewhat of a point.
Stain with the color of your choice and place in garden. It helps to push the feet into the dirt a bit for added stability.
Above all, look how happy the roses are! Big smiley face right there. I'm looking forward to making a few different shape and sizes for some of our other garden areas. I may even splurge on a few toppers, like a decorative finial or two, what do you think?
FOLLOW ATTIC LACE ON BLOGLOVIN!


I think even I could manage this project! It adds a lot to the charm of the garden.
ReplyDelete