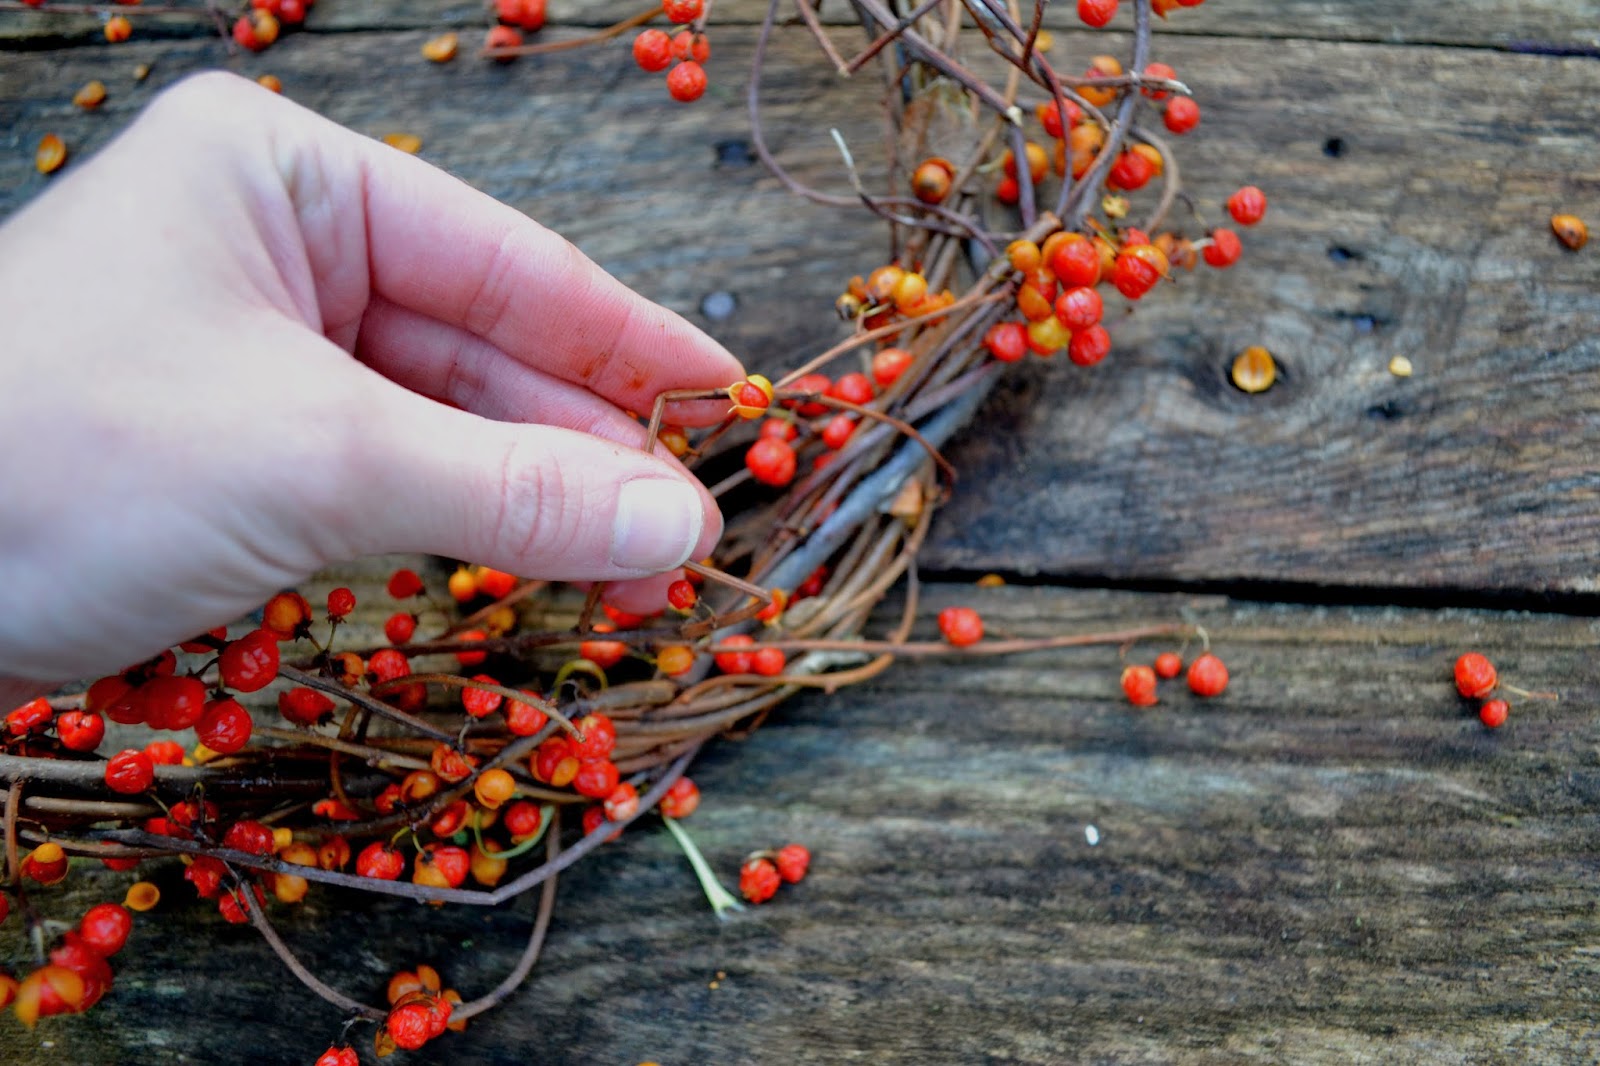
(Note: Shown here is Oriental Bittersweet, while its sister plant the American Bittersweet is a protected plant due to increasing rarity. Please be sure to check before you cut!)
Begin by gathering strands of the vine. Using garden clippers (possibly gloves if you have them, there tend to be blunt thorns here and there), cut about five 3-4ft long sections of the vine full with berries. You will also want to look for thicker sections that are absent of berries to use as the base for your wreath. For a wreath of the size shown at the top, I cut about a 3 foot section of the thicker berry-less vines (these are usually twisted together like thick cording).
First, twist the 3ft berry-less strand into the shape of a circle. You may use a little piece of floral wire to connect the ends, or simply weave and tuck them in on each other the way I did above. Tip: When making natural wreaths it is important to remember that your piece will have an organic feel and you should not strive for perfect symmetry.
Next, starting in any spot on the wreath, begin winding the vines along the curve, threading them in and out of the center of the wreath. Using your fingers, tuck loose ends into the other wound strands to secure. There is no 'right way' to do this, you sort of follow the natural path of the vines while at the the same time forcing them to twist around each other, all the while following the curve of your wreath base.
Lastly, when you feel your wreath is complete, you may either trim off any stragglers or leave them as is. Your wreath should have a little bit of character (see that cute little bump-out on the right side of mine?), this adds to the beauty of a natural wreath.
Now you're finished and you can hang your wreath proudly on the front door, or give it as a gift! Mine will be given as a hostess gift in a few days at Thanksgiving. Can you guess who the lucky recipient will be? I thought someone should continue the pre-Christmas tradition of the 'Bittersweet Delivery' to my Mama...only this time it will hand delivered.
(Please Note: Bittersweet can be poisonous when ingested by dogs and cats, so it's best to display wreaths in an area where pets will not be, and never indoors!)
FOLLOW ATTIC LACE ON BLOGLOVIN!


I love your blue boots!
ReplyDeleteSweet memories of Grandpa Ozzie and Anneli
ReplyDelete. Meditation in natural settings, forest bathing, and yoga retreats in scenic locations are becoming increasingly popular as people recognize the therapeutic benefits of connecting with the earth. keto+acv gummies
ReplyDeleteHow can you tell the difference between American bittersweet and the invasive Oriental bittersweet vines? I've seen oriental bittersweet strangling tall trees in the forest and the last thing I would want to do is spread the seeds vines that can kill both deciduous and coniferous native trees.
ReplyDelete